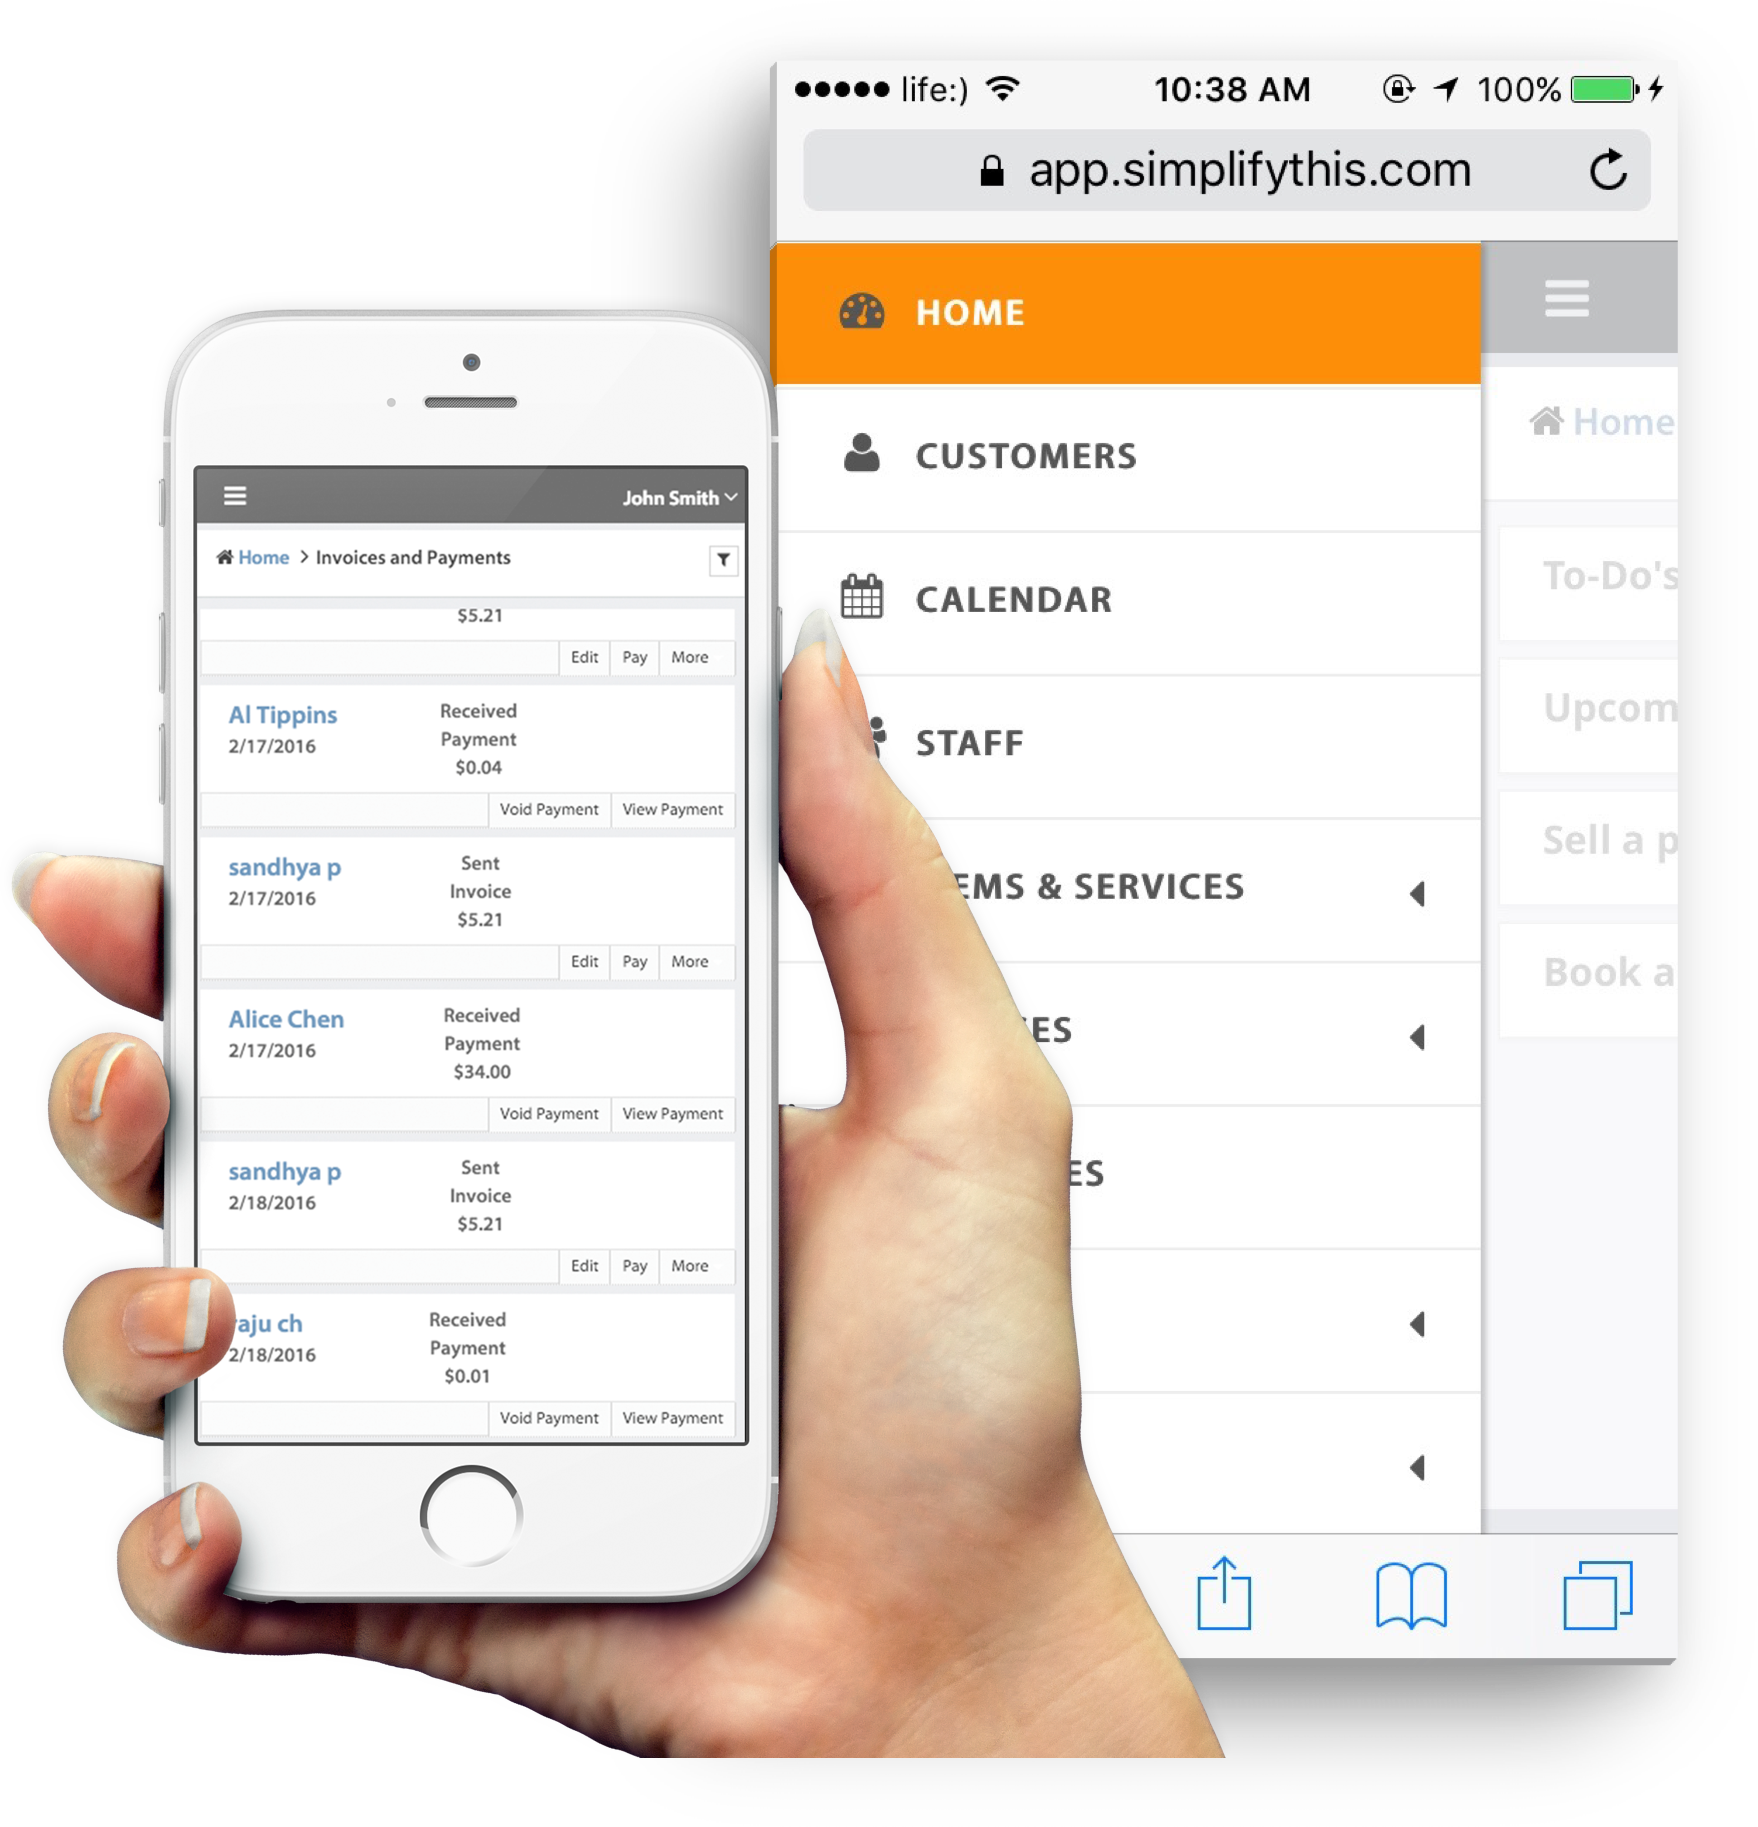
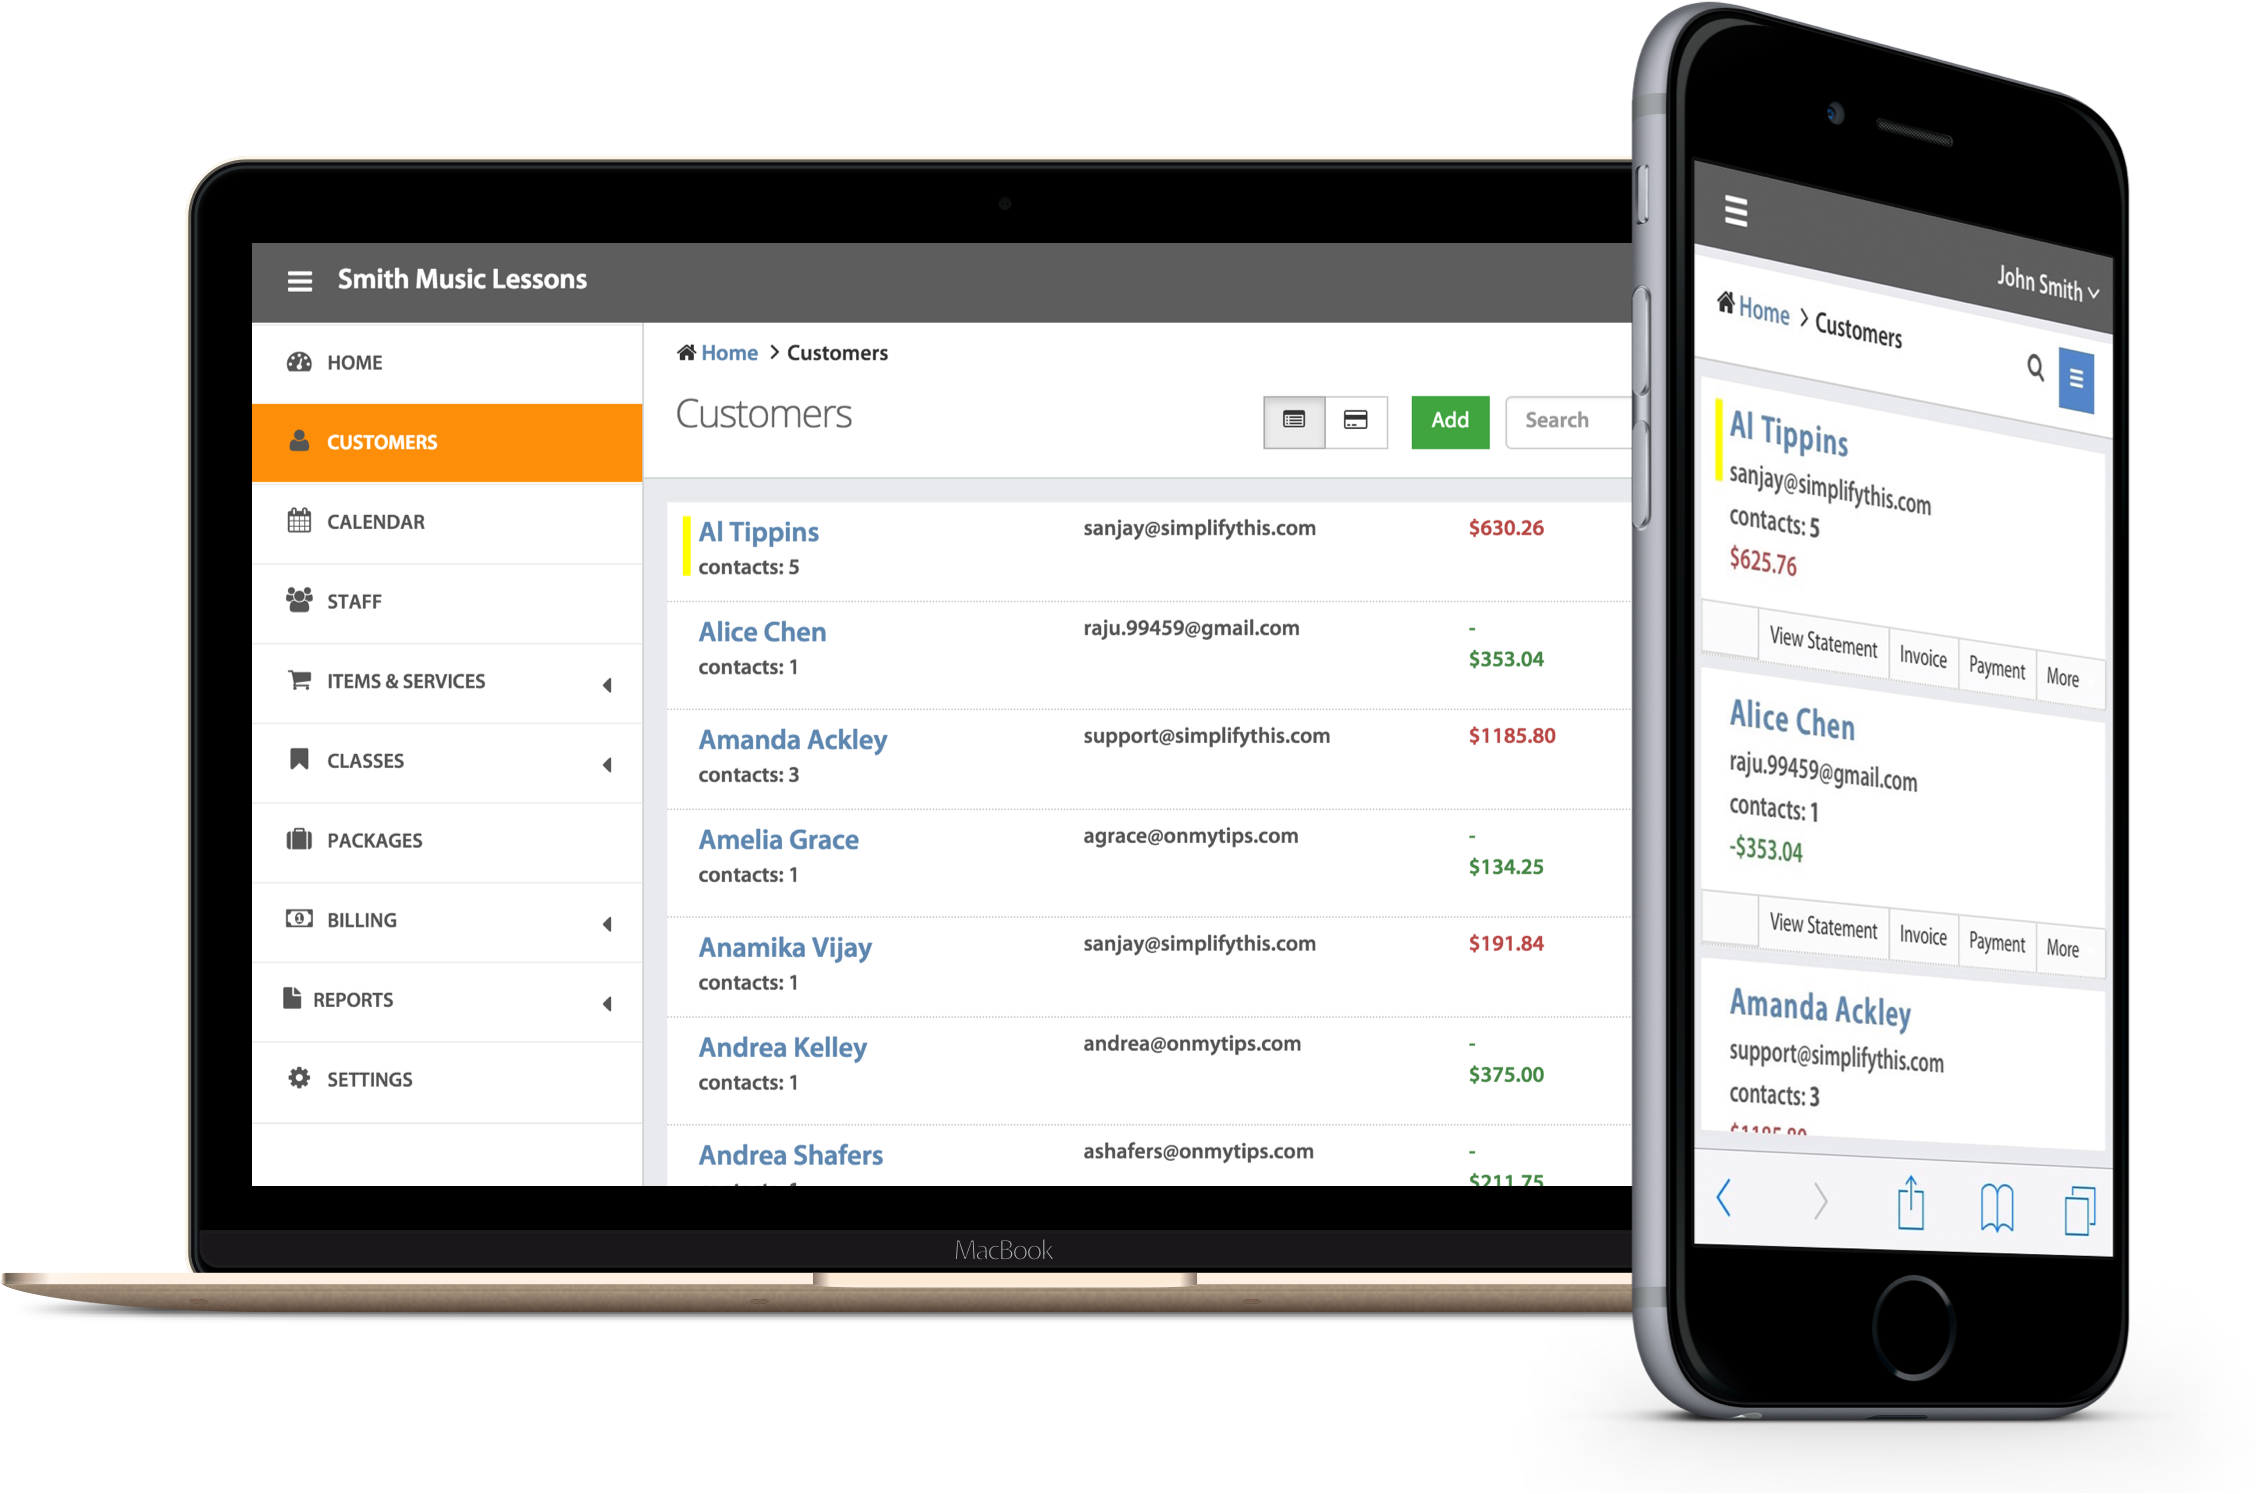
Category: New Features

Easier to Manage Leads

Next time when you log-in to your account, you’ll notice that the “Leads” module is missing from the invoicing application.  You’ll also notice that leads and customers are now in the same module (called clients).  If you select a lead, you’ll get the lead menu and if you select a client, you’ll get the client menu. Hope this makes it easier for you to manage leads and clients.  You do not have to deal with them separately in two different modules now.

There has been numerous requests to provide the capability to send estimates to leads.  Well, this is a step forward in that direction.   Very soon we’ll be rolling out this feature.

As always, please do let us know what you think about this change.

Share projects and time entries with your clients

What do you do when your clients ask for a detailed break-up of time spent on each project and task! Most likely you tracked and typed up each time entry against a project and task in a worksheet and mailed them to your clients – easily hours worth of effort.

Well, SimplifyThis users do not need to take so much effort anymore.  Just track the time spent in Projects and Tasks section and your clients will automatically have visibility into all the time entries for their projects. All they need to do is login to their account and click on “View Projects”.

There are a few limitations that you will notice when you start to use this feature.  First off, you do not yet have an option to allow or restrict visibility for a project or a task.  If you have granted access to your clients, they will have visibility into their projects, tasks and time entries.  Of course, very soon we’ll provide you the capability to restrict or allow access to individual projects.  We are so excited to get this feature available to you that we thought instead of waiting for access control, we’ll get it out to you right now and then enhance it as we go along and get your feedback.

As always, please drop us a note and let us know what you think about this feature.

View Detailed Time Entries Now

Admittedly, the current project and time tracking capabilities, while useful, leave much to be desired.  Our email box is full of suggestions.  As I have communicated to many of you, we shall continue to take these suggestions one at a time and make improvements in this area.

When you log in to your account and click on a project or task, you’ll notice a new menu option: “Show Time”.  Click on this to view the time entries for the selected project or task. Please do drop me a note with your thoughts on this feature addition.

Minor Improvements to Projects and Tasks

We heard several complaints (yes… complaints) that Project and Time Tracking is not very useful, as it does not show all the information needed to manage projects.  Well, we are addressing these issues with highest priority.  To start with, now you’ll notice that we have added a new column in Tasks so that you can easily which project does a task belong to.  In addition, if you hover over a task or a project, you’ll get an unintrusive pop-up providing you more information about the project or task. 

 We have several enhancements planned for projects and tasks over next few weeks.  These include:

  1. Visibility into time entries for each project/task.  Currently, you can only see the total time spent.
  2. Ability to assign staff to a task. 
  3. Ability to show projects, tasks, and time entries to your clients on a permission basis.
  4. Add project details to invoices

Please drop me a note if there are other enhancements that you would like for make to projects section. 

New Product: Online Appointments

Today we have released a new product: Easy-Book. This enables you to offer online appointment booking to your clients. If you are in services business and take appointments from your clients, you’ll find Easy-Book extremely useful. Key features include:

  1. Online appointment booking that embeds within your website.
  2. Automated email notification and reminder to your clients and to your staff.
  3. If you don’t have a website, it will create a booking page for you with your logo and address.
  4. Specify duration of service for each service that you provide. Appointments are based on staff availability and duration of service.
  5. Option to show list of services and list of staff to your clients for booking purposes.

We have plans to add several features that we could not get to in this first release. Please feel free to drop us a note if you have suggestions or feedback.

All the existing customers get a one month free trial of Easy-Book, after which they can add it to their subscription.

Update: Menu Replaced By Buttons

Update:  After getting an earful from our customers, we are switching back to menus.  However, in the process, we were able to fix a few bugs related to menus.

———

Many of you pointed out that contextual menu in Customer section and in project section were not behaving properly in some browsers. To take care of this issue, we have moved to buttons from menus. You’ll notice that when you click on a customer or a project, the menu does not appear any more. All the commands from the menu are now available as buttons at the top of the section.

Integrate Customer Account Pages to Your Website

Do you have a website? Now you can embed account pages in your website which will allow your clients to view their account history and make payments directly from your website. Not only that, you can fully blend-in these pages with the rest of your website.

Follow these simple steps to integrate customer account pages to your website.

  1. Go to Settings

    and click on Change next to Your Web Address section.

  2. Select the option for your own website. Enter the url of your website.
  3. You will notice a system generated url for account pages. Make a note of this url. You’ll be using this url for an iframe within your website.
  4. Create a page with an iframe on your website. Use the above url for this iframe. The content of the iframe will not have your logo or address, as we figure they would already be there on your web pages.
  5. If you wish to blend the iframe content with the rest of your site, click on Edit CSS in step 2.

If you had someone else develop your website, please ask them to contact us and we shall be happy to walk them through these steps.

New Feature: Allow customers to view their account

Do you often need to send duplicate copies of invoices to your customers? Well, you do not need to anymore. With the release of this new feature, your customers can go to your personalized website with a subdomain name of your choice, securely view their account history, and make payments. You fully control which of your customers get access. You can discontinue or allow access at any time.

What do I need to do to use this feature?
Well, the first thing you need to do is go to Settings and choose a subdomain name. SimiplifyThis will create a personalized web page with your logo and address at the top. Your unique URL will be https://Yoursubdomain.simplifyaccounts.com. Once you choose a subdomain, whenever you edit or add a customer, you’ll notice a checkbox to allow access to this customer. Mark this checkbox and continue to save customer details. SimplifyThis will autogenerate a password and send a mail to this customer on your behalf notifying that s/he can access their account. This email will include your personalized URL, customer’s login id and password. The login id will be the same as customer’s primary email address.

What will my site look like?

The header of your site will show your logo on the left and your contact details on the right. If you have not uploaded a logo, it will show your business name in bold letters.

What can my customers do after they sign in?
Your customers can sign in to

  • see their complete account history
  • view invoices
  • Save pdf copy of invoices
  • Pay an invoice or make payment to their account
  • Change or reset their account password

Why can I not see my customer’s password?
Well, we cannot either. However, your customers can change their password once they sign in.

Can I revoke access from a customer?
Sure you can. All you need to do is Edit customer details, and unselect the allow access checkbox.

Can I keep same email address for more than customers?
You can. However, once you have given access to a customer, you cannot provide access to another one with the same email address.

I already have a website. How can I integrate my account information to my website?

We are working on certain enhancements that will allow you to fully blend in these account pages with your website.

As you can expect, there will be some work required in your website as well.
Please have your website builder contact us at support@simplifythis.com and we will be happy to provide instructions on how to integrate these pages to your website.

New Feature: Store alternate email address for your customers

Many of you told us that you often need to send an invoice to more than one email addresses. To work around this issue, some of you store the pdf copy of invoice on your computer and send it yourself. We also noticed that some of you were adding multiple email addresses in the customer email field.

No need for these workarounds any more.

Next time when you add or edit a customer, you would notice a field for alternate email address. If you need to keep multiple email addresses for a customer, put the primary one in the primary email address field, and all the other ones in the alternate email address field. The invoices will go to all the email addresses that you have stored in primary and alternate email address fields.

If you already have multiple email addresses in the primary email field, we recommend that you keep only one of them in the primary and move the rest to the alternate.

New Feature: Track and invoice your Basecamp projects!

Yep, the rumors are true — over the weekend, we deployed a set of great new features that help you better track and invoice your Basecamp Projects!
Do you manage projects and tasks using Basecamp and been wondering how to best invoice them? SimplifyThis now integrates with Basecamp so that you can very easily invoice Basecamp Projects and To-Do’s. In addition, you can add time entries from Basecamp to your invoices in SimplifyThis. Integration with Basecamp allows you to:

  • Invoice Basecamp projects and to-dos using SimplifyThis, without having to enter them twice.
  • Enter time for Basecamp projects and tasks from within SimplifyThis, and/or using the SimplifyThis project gadget on iGoogle.
  • Track time spent on projects and tasks from both SimplifyThis as well as Basecamp.

If you are not familiar with Basecamp and are looking for a great project management tool, I strongly encourage you to check it out.

Labels: ,

WP Like Button Plugin by Free WordPress Templates